RUZER PRO NEUTRON MINI BLAST PUMP: Gear Review

OVERVIEW:

I was asked to review the Ruzer ‘Neutron Mini Blast’ pump at a very convenient time for me as I was in the market for a nice compact trail pump to take on bikepacking and mtb outings that wasn’t going to weigh me down and take up much space on my bike or in my bags….this most definitely fit the bill!

My topeak mini morph pump is great and very practical for commuting and longer tours, but for overnighters and quick blasts around the local woods on my trail bike I felt like it was overkill and needed (wanted) something even smaller and more discreet, but I got even more than that with this mighty little pump!

Full disclosure, the Ruzer team sent this bad boy to me to test and keep after reviewing, I always try and be honest in my reviews so if anything isn’t up to scratch I would actually point it out in the review though.

SPECS: 

Length (closed) 17cm  (6.9”) 

Length (fully extended) 27cm (10.6”) 

Weight 95g (3.35 oz.)

Max PSI 230

Valve type Presta/Schrader/Dunlop
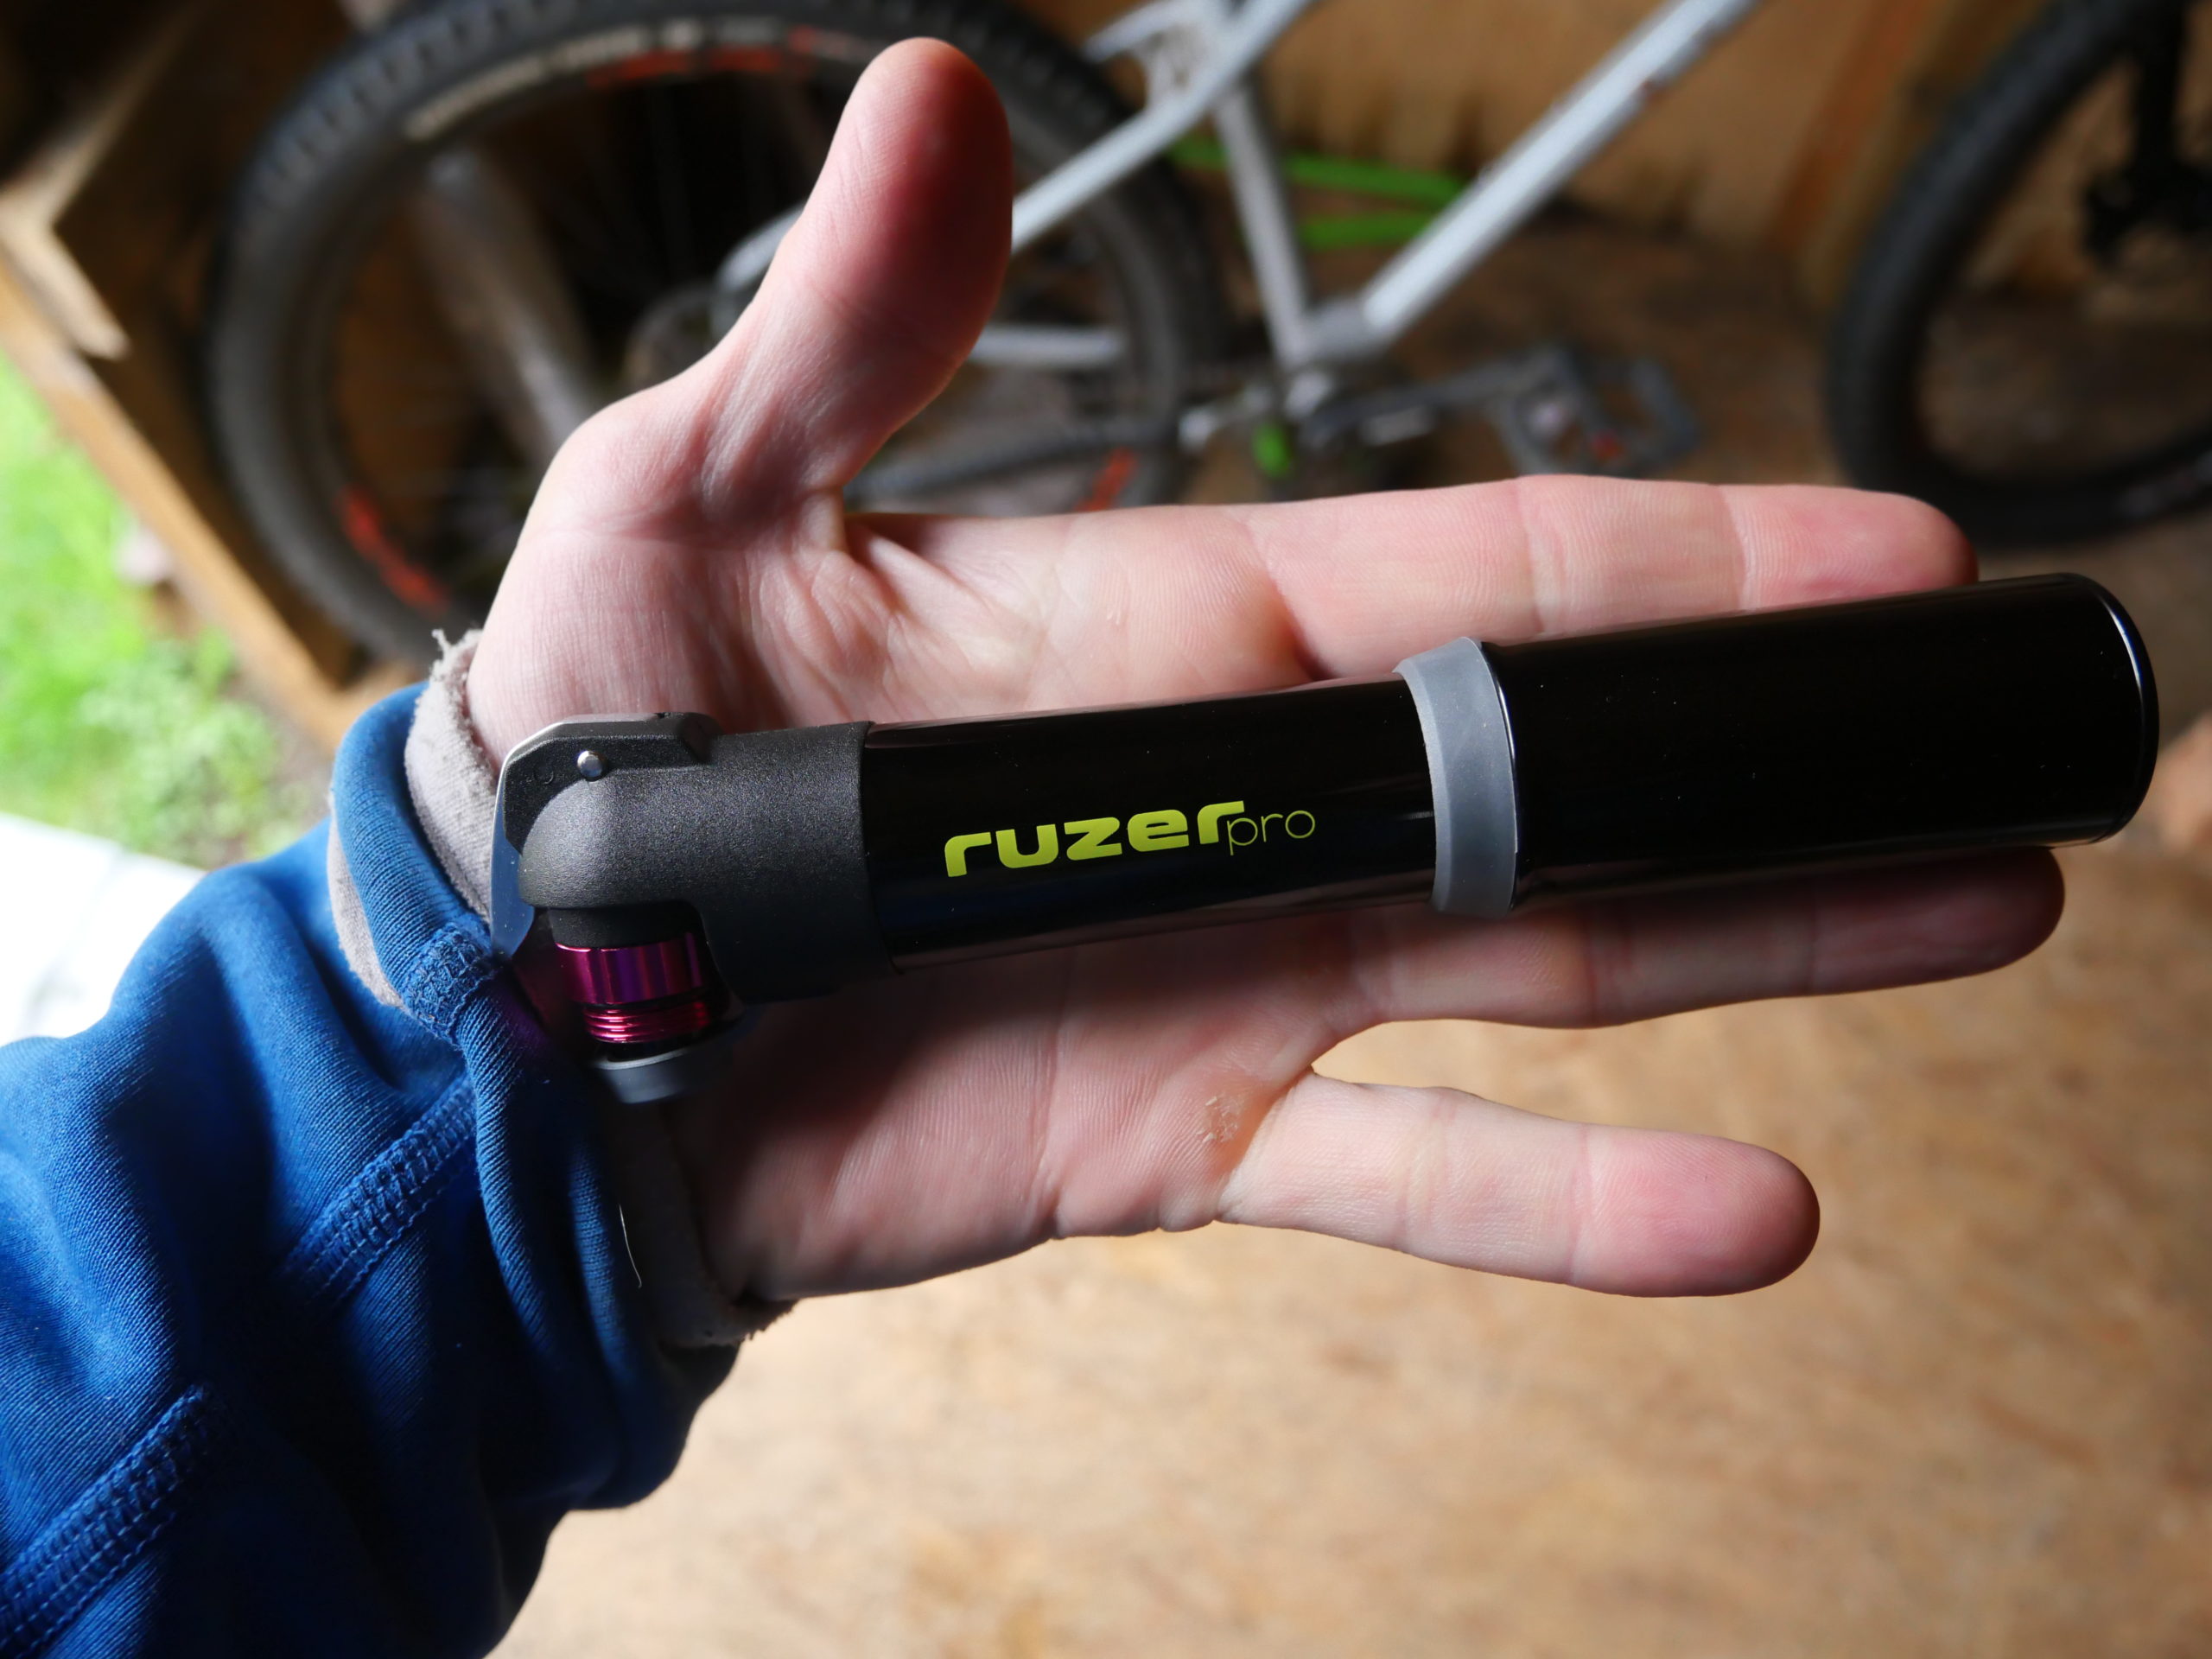
A mighty powerful pump for it’s palm sized proportions!

PROS: 

  • Extremely light 
  • Streamlined so no hose or anything sticking out to snag 
  • Metal construction feels very durable and sturdy 
  • Super easy to switch between Schrader and presta 
  • Surprisingly powerful!
  • Very short so easily fits in jersey pocket or top tube bag
  • Comes with lightweight well designed attachment bracket
  • Solid metal locking mechanism for attaching to valve
  • Very discreet in all black wouldn’t stand out on your frame

CONS:

  • Small size means slightly awkward to grip when pumping
  • Rubber seal to hold handle in place tends to slip away from handle slightly
  • May make a rattling noise on bumps from metal valve locking mechanism 

DESIGN AND FUNCIONALITY:

I was very impressed by the look of the Ruzer Neutron mini blast when I took it out of the package; it looks and feels satisfyingly solid for such a tiny pump. It’s super light but the weight feels just right, not like some plastic mini pumps or even other aluminum pumps that feel flimsy as if they’re going to fall apart in your hands at the first use.

It is very sleek and low profile and wouldn’t mess up the look of your bike if you choose to attach it to the frame with the provided bracket. Because it is such a sleek and simple design it would also slip perfectly into a jersey pocket and be easily retrieved without the risk of a hose snagging in the pocket.

I carried the Ruzer Neutron Mini Blast around on my commute to work and tried it in several different spots, each of which it fit without a battle to squeeze it into which was nice for a change. Easily slipped into the top mesh pocket of my Blackburn top tube bag, into my alpkit stem cell bag and when trail riding it disappeared into my Dakine backpack’s built in pump pocket. Very satisfied with how versatile it is and would feel confident taking it out on longer rides.

When I first received it I thought it would be a great emergency pump for trails and day rides, but due to the small size didn’t think it would really be powerful enough to take on extended bikepacking trips, but that changed when I had to fix a flat on my bikepacking rig that I have been using to commute to work recently. 

My genesis longitude is currently set up with 2.8’ onza canis tyres on WTB 27.5 scraper rims which I have found an absolute nightmare to get tyres on and off of and even getting them to seat properly has taken some pretty vigorous pumping to use the inner tube to push the tyre back into place after installing. I didn’t hold much hope that the Ruzer Neutron mini would have the pumping power to shift the tyre back into place on the insanely tight scraper rims….but I was wrong! The little Ruzer handled it with no issues at all, if anything I actually found it easier than using my topeak mini pump and my larger unbranded pump that has a flip out foot stand and handle that can fold out to get more grip. This was a big plus for me and changed the way I thought about it as I could now see it as a very viable option for bikepacking as I felt confident that I could be out in the middle of nowhere and it would have what it takes to give me any pressure I needed to force a tyre to sit on the rim properly. 
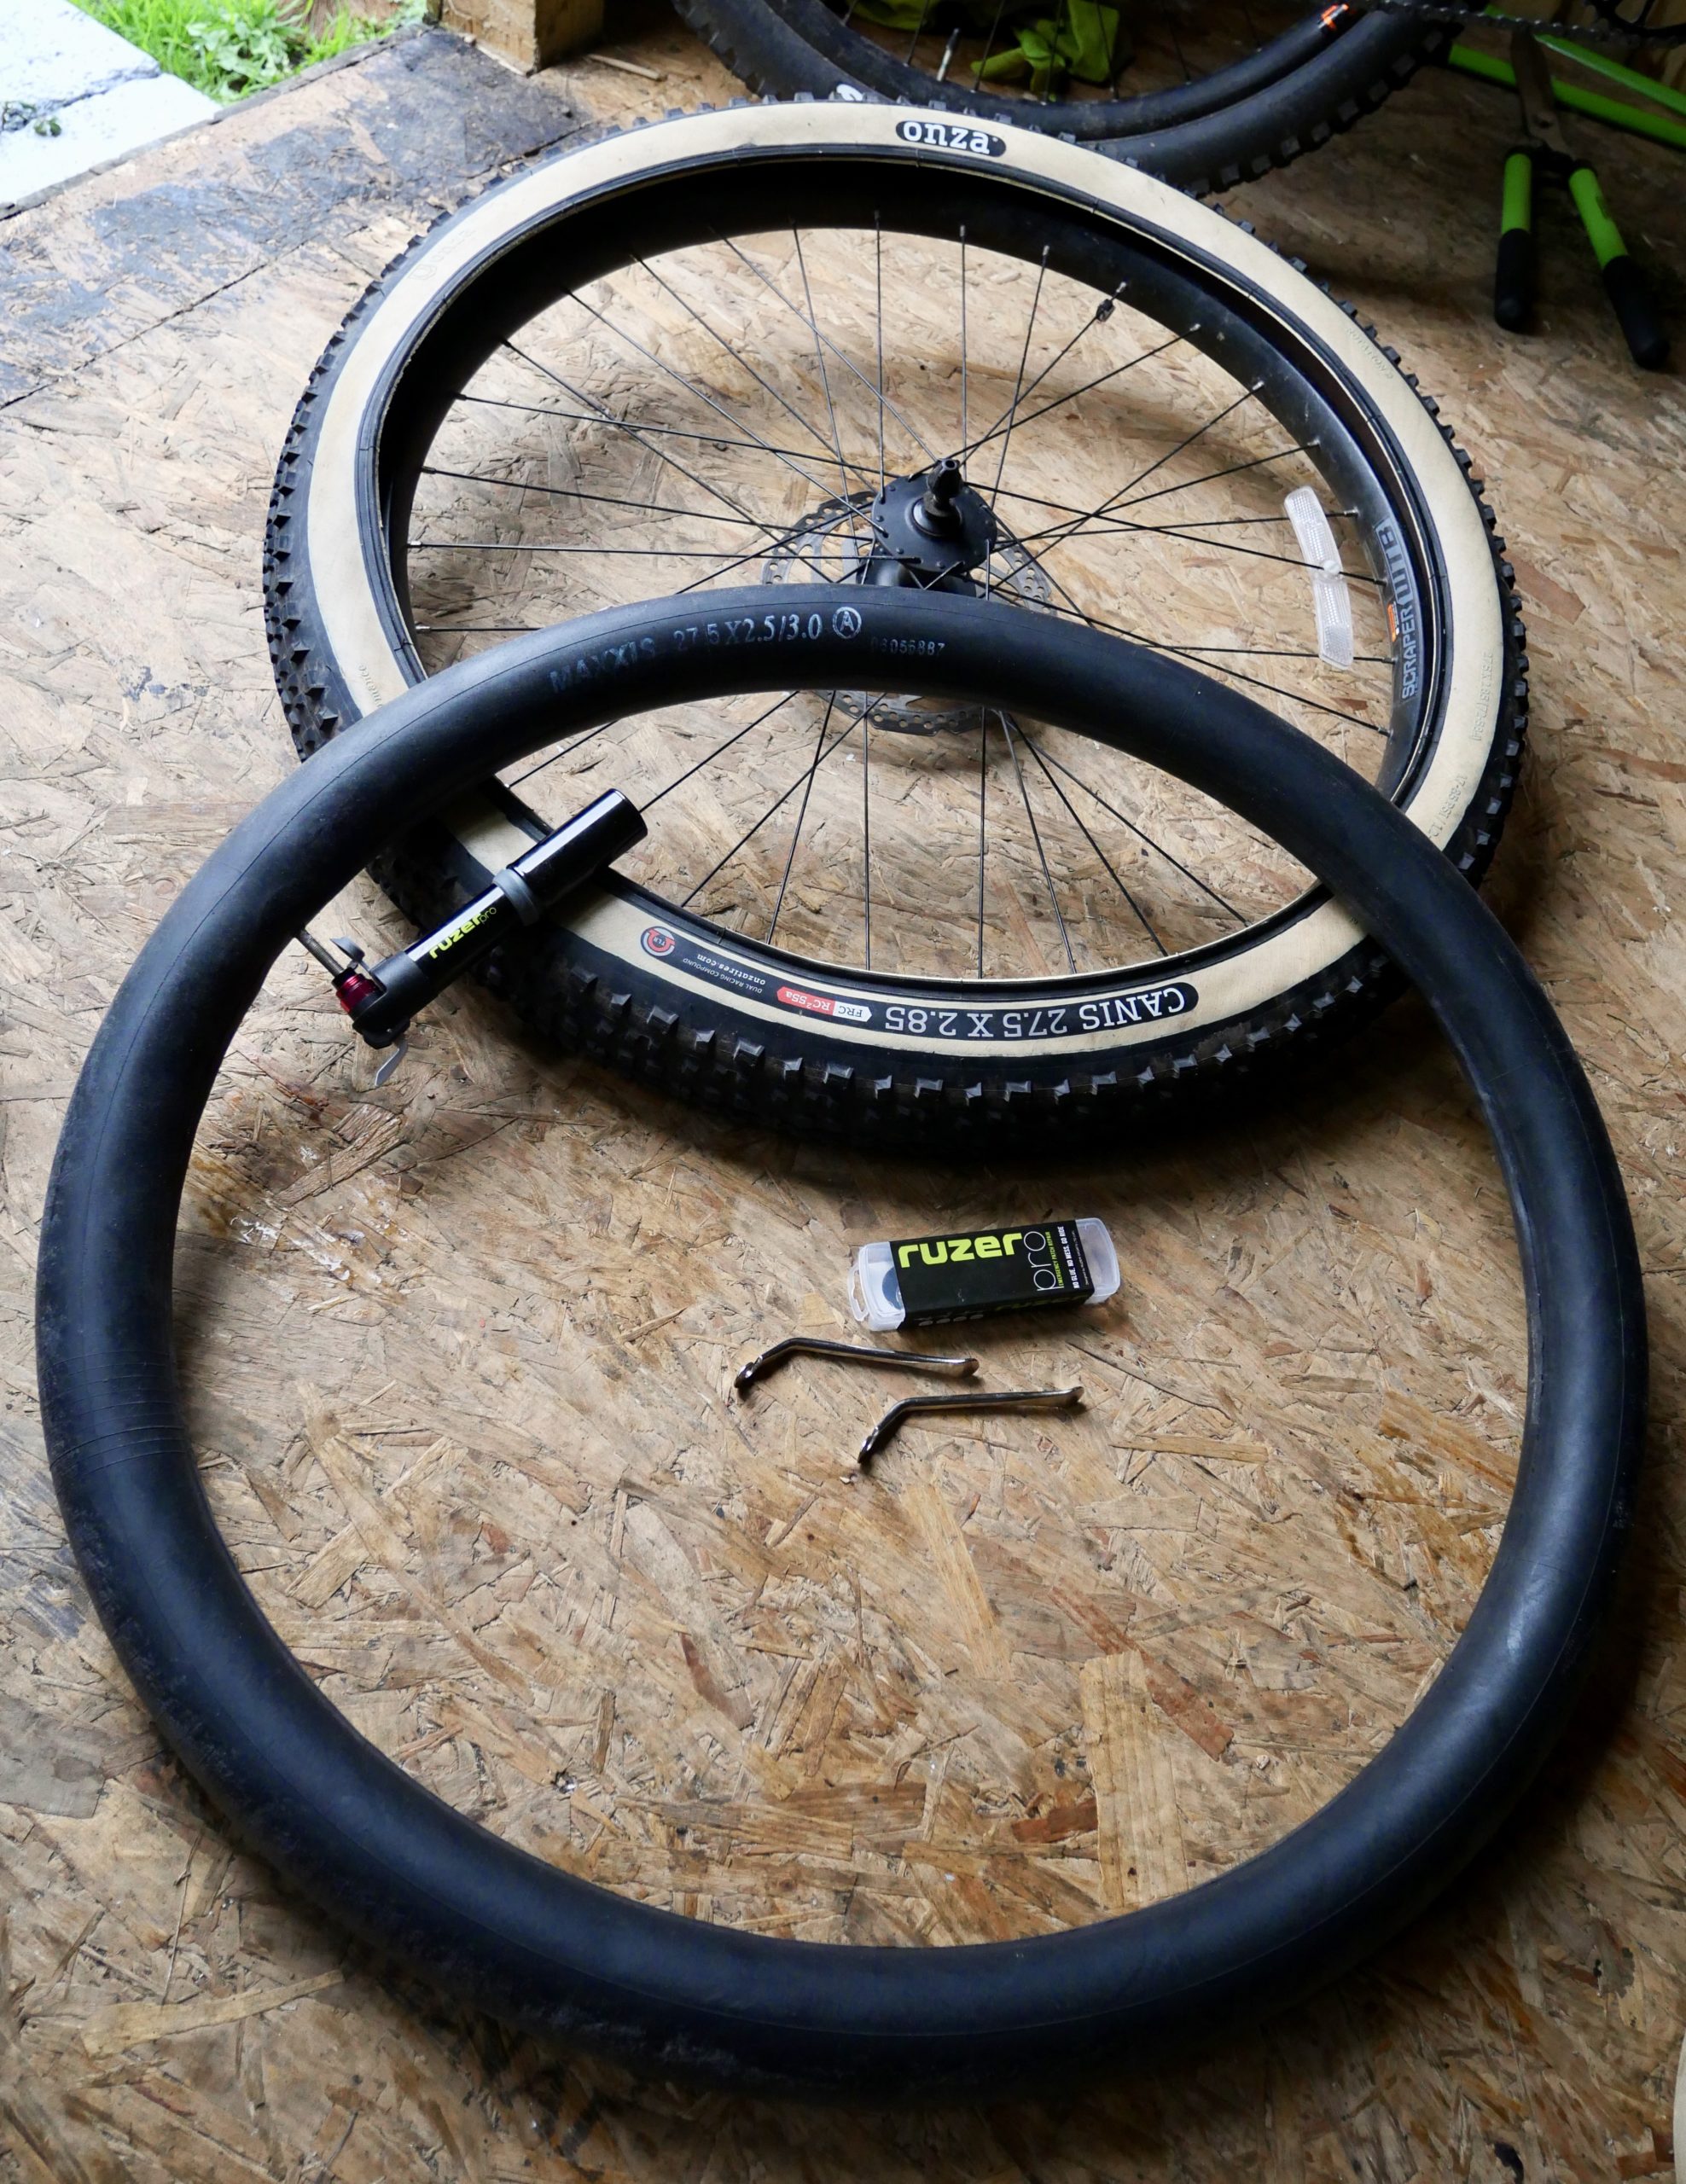
I had strong doubts a pump this size could get these beefy tyres to seat properly, but it did the trick no worries!

Cool!! A tiny pump that actually has some guts!!

My only quibble with the pump is due to it’s petite size it can be a bit awkward gripping it when pumping, but this is true for pretty much all pumps of this size so you kind of have to expect it for any pump of these tiny proportions. The flipside of this is that because it actually has efficient pumping power it can get the job done surprisingly quickly so you won’t actually be holding it for too long…unless you own a tricycle and get 3 flats at once I guess.

DURABILITY:

I have only been trying the Ruzer Neutron mini blast out for a couple of weeks so I can’t speak too much about the long term durability of this little fella, but everything does feel well constructed and solid. One of the most impressive features would have to be the solid metal valve connecter that screws into the head and is reversible depending if you’re using Schrader or presta. Some other dual use pumps seem to use fiddly little rubber adaptors that you have to pry out and flip around and hope you don’t drop it in long grass or mud and lose when you trying to use it on the trail so I was quite happy to see this solid metal one piece construction of the adaptor. I was also very impressed with how quick and easy it is to unscrew the head and change what valve type you need.

SUMMARY:

There is definitely a lot more to this pump than I was expecting. I kind of had it in my head that it would arrive and be something that would be decent for an emergency trail pump mountain biking or good for a road ride where you’re trying to keep weight down, but maybe not as a ‘serious’ pump for longer trips or commuting. I was wrong though and I’m happy about it!

This will now be my go to pump for all types of riding, but particularly for my bikepacking adventures (if I get off my arse and organize one soon) as it is so tiny I will always be able to find a gap somewhere in my gear to squeeze it in, but can also feel confident that if I need it, it actually has what it takes to stand up to the rigors of a bike tour.

The pump is a available at https://ruzer.co.uk/product/neutron-mini-blast-pump-fits-presta-schrader-reversible-valve-230-psi-15-7-bar-portable-compact-easy-for-mtb-road-hybrid/
Core Strength for Cyclists

core-strength-for-cyclists

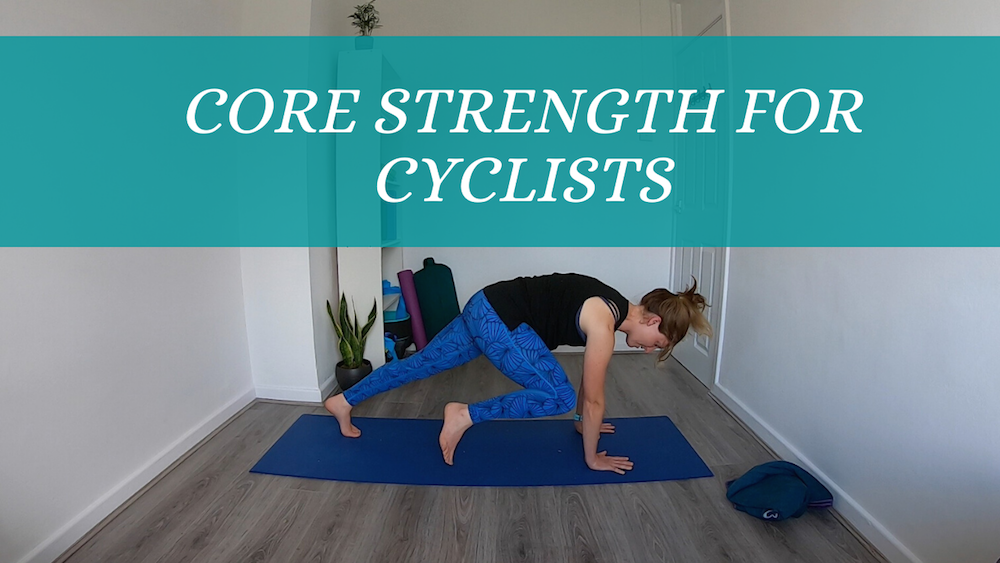
Cycling, particularly long distance cycling can change the body. I’ve previously written about some of the changes I experienced and also some of the other changes you may experience while cycle touring. A lot of the negative changes can be reduced by having a strong core – this is why core strength for cyclists is so important!

Why cyclists need a strong core?

  • A strong core supports and protects the spine and helps to prevent lower back pain! The common cyclist position involves rounding forward, which increases pressure on the spine (and the discs in the spine). Over time this can stretch the ligaments and weaken the back and cause back pain. Having the extra support from a strong core can help prevent long term injury and pain. I’ve discussed this a bit more in this Back Strengthening for Cycle Tourists article.
  • Core strength can help improve balance and prevent falls.
  • Maintaining a strong core can help with comfort in the saddle, and help us maintain a good posture, which can reduce the chance of injury. This can overall can help our performance.

This is just a few of the reasons why core strength for cyclists is important!

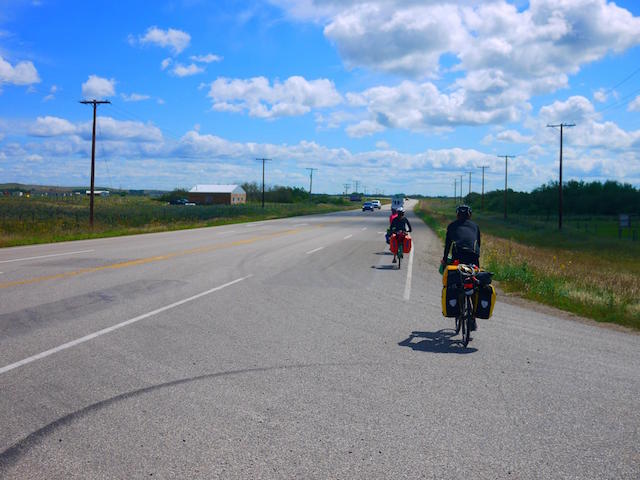
Cycling in the Saskatchewan Prairies
Cycle touring in Canada!

How to strengthen your core

I’ve created a 7 day core strength challenge which will cover a different core muscle each day and how to strengthen it.

The challenge starts on Monday 20th July. Daily challenges will be posted on YouTube in the Core Challenge playlist. Subscribe to be kept updated. I’ll also post the videos below, as they become available.

The daily challenge will only take 5-10 minutes, so can easily be fit into your daily routine. It also means you can incorporate it into any other training plan you currently have.

Beginners are welcome! Although it’s important to work within your limitation and stop if you feel any pain (I realise I’m talking to cycle tourists that push themselves to the limit – but just want to make sure you do look after yourself 🙂 ).

If you are training for a cycle tour or long distance bike trip, I definitely recommend including some core strengthening into your training plan.

Day 1 of the Core Strength Challenge: The Obliques

Day 1 of the 7 day Core Strength Challenge

Day 2 of the Core Strength Challenge: The Transverse Abs

Day 2 of the core strength challenge

Day 3 of the Core Strength Challenge: The Back

Day 3: The Back

Day 4 of the Core Strength Challenge: The Glutes

Day 4: The Glutes

Day 5 of the core strength challenge: The Abs

Day 5: The Abs

Day 6 of the core strength challenge: Hip Flexors

Day 6: Hip Flexors

Day 7 of the core strength challenge: The Pelvic Floor & Diaphragm

Day 7: Pelvic Floor & Diaphragm

Strengthening the Back for Cycle Touring

Strengthening-the-Back-for-Cycle-Touring

The back isn’t always something we consider when cycling, however particularly during cycle touring or any long distance cyclists, we spend an extended period of time in the saddle, bending forward towards the handle bars. This puts a lot of pressure on the spine and the discs within the spine.

Hence strengthening the back for cycle touring (or any type of cycling) is really important in ensuring we protect our spine and prevent lower back pain and hunching/ rounding forward. Next week I plan to write an article on lower pain pain, which will focus a bit more on this.

I’ve also previously written an article about how cycle touring can change your body, which touches on the impact on the spine and some of the other things you may experience when spending hours in the saddle. Today we’ll focus primarily on back strengthening – why and how.

Why strengthening the back for cycle touring is so important

To give you some idea of the amount of pressure on the spine when bending forward (ie. putting the back in flexion) I’ll compare the amount of pressure in different positions. Now this will vary depending on the person and is purely to give you a comparison or visual. For this comparison I’ll use Suzy as an example.

  • When lying down on the floor Suzy has 70 pounds of pressure on the spine.
  • While standing this increases to 100 pounds.
  • When seated with a straight spine, so good posture and no rounding forward, this pressure increases to 150 pounds.
  • On a bike, rounding forward, Suzy increases this pressure to 300-400 pounds (depending largely on how much flexion is from the hips compared to how much flexion is in the back/ spine).

So we can see from this example that there is far more pressure on the spine and discs when rounding forward, which isn’t necessarily a bad thing. The spine has 6 degrees of movement (side to side, back to front and twisting) and movement in all these directions helps to hydrate the spinal discs, which helps mobility and stiffness.

However, when we are staying in this flexed position for an extending period of time that is when the ligaments in the back of spine can start to weaken. The muscles that support the spine can also stretch. On the other hand, the front body can get tight and the muscles shorten. This can result in back pain, specifically lower back pain and the hunching forward position, meaning it can be difficult to hold good posture in other activities.

When the back is rounded we no longer have the natural curve (lumbar curve) present in the lower spine. This natural curve helps to respond to pressure and gravity. Hence why there is an increase in pressure on the spine when rounding forward when cycling. And also why good posture when standing, sitting, walking etc is so important.

Therefore especially when spending long period of time in the saddle, it’s important to strengthen the muscles that support the back and the spine and to also take counterposes/ stretches once you’ve finished a long cycle. Below we’ll take a look at a few ways we can do this.

Strengthening the back for cycle touring – how?

Back strengthening is really important in your cycling preparation. So if you are planning a long distance cycle trip, try and incorporate some back strengthening into your training plan.

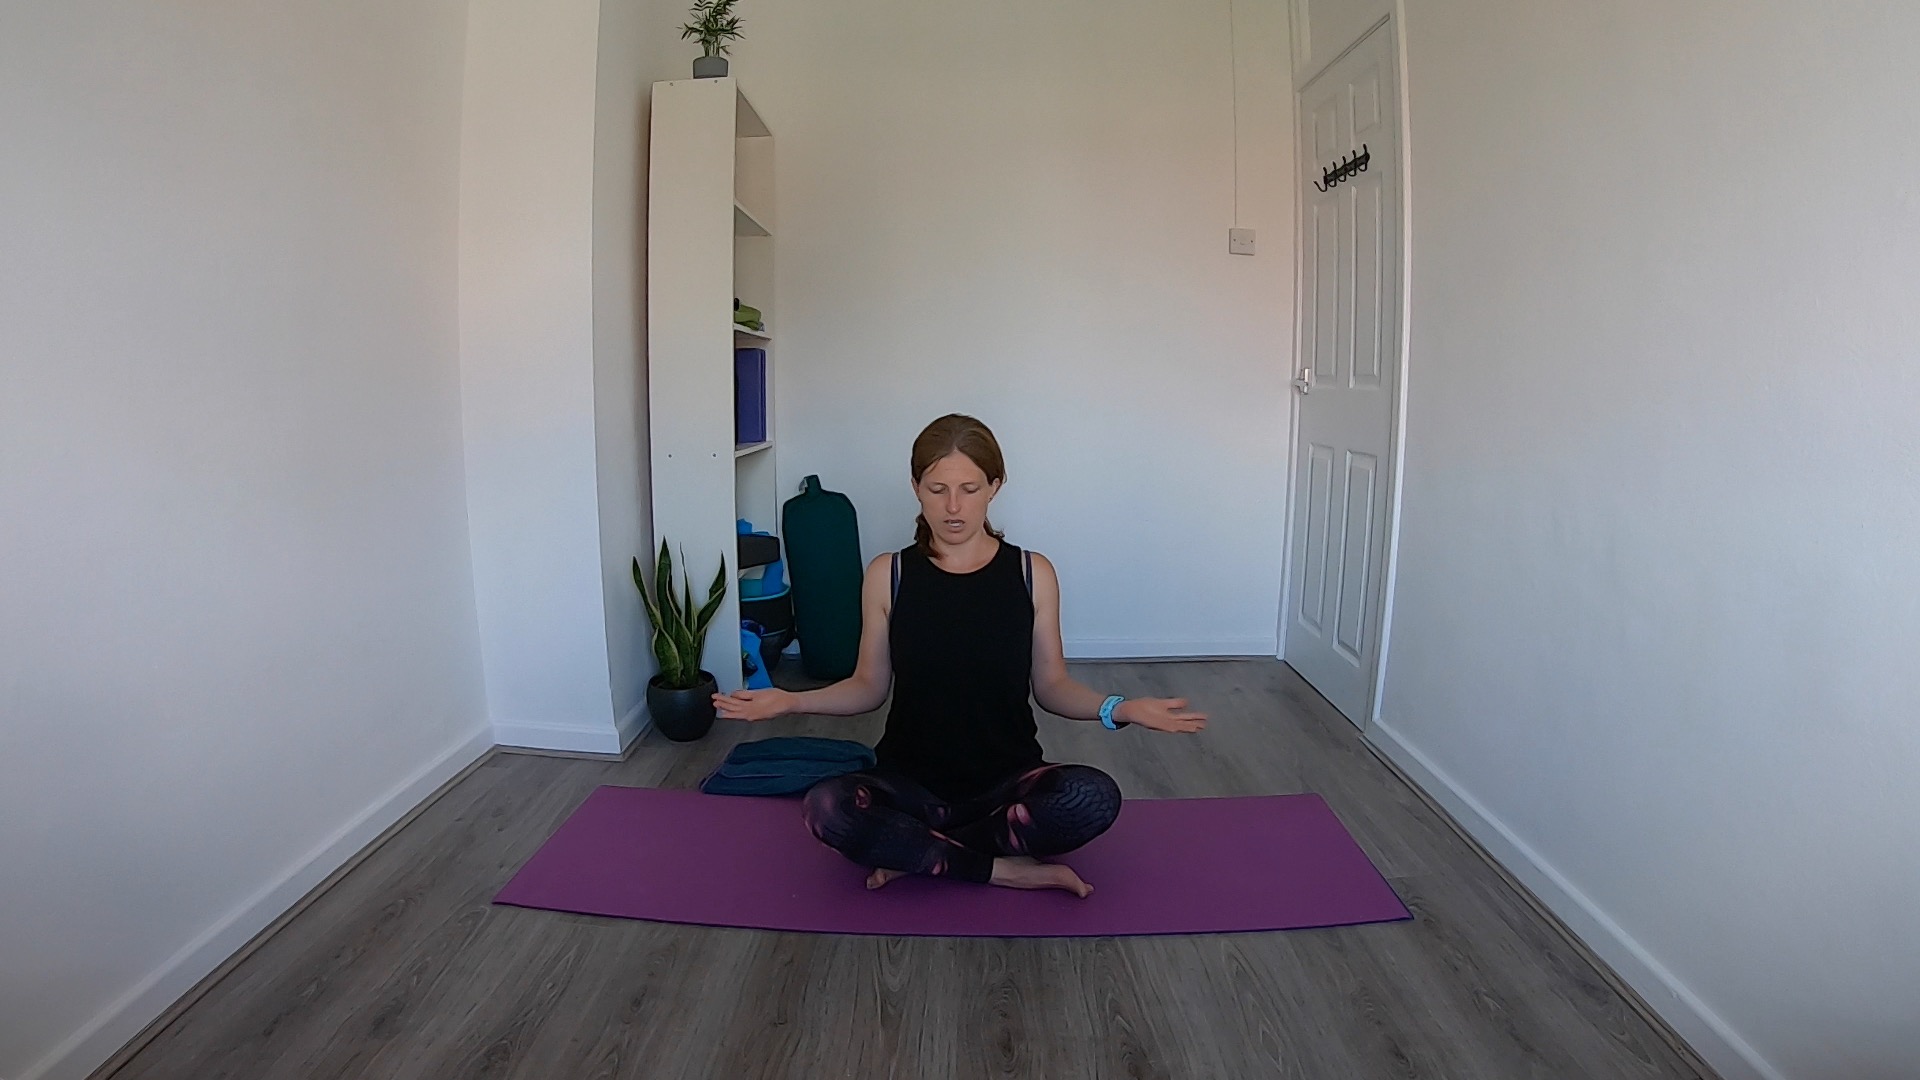
Here are two back strengthening exercises you can use. I’ve also created a short Yoga for Back Strengthening class with a few more poses and exercises you can try.

Cobra Lifts

Cobra lifts are a great way to strengthen the muscles that run along the spine (multifidi and the erectors) and the lower back.

Lie on your belly. Bring your palms so the are next to your shoulders. Keep the elbows in. Gently push the pelvis into the floor. As you inhale, roll the chest up – being careful not to crunch the neck. Holding it there and seeing whether you can lift the hands of the floor. Pull the shoulder blades in towards each other, activating the muscles in the back. Exhale to roll back down. Repeat 4-6 times. Moving slowly. If you feel any pain then come out of pose.

For a counterpose you can make a pillow with the hands. Rest the forehead on the hands and breath into the belly or/ and rock the pelvis side to side.

Cobra lifts are great for strengthening the back for cycle touring

Birdwinging

Birdwinging is a great way to strengthen the upper back and the muscles between the shoulder blades. It also activates these muscles, so is great to do either before or after a cycle.

Bring the arms out in front. Palms facing up. Elbows in towards the lower ribs. Keep the elbows in towards the ribs as you open the arms out to the side on the inhale, drawing the shoulder blades together. On the exhale release and let the arms move back in. As you do this notice if the shoulders draw up towards the ears and see if you can draw them down the back. Repeat 5 – 10 times.

Birdwinging for the upper back.

Other Spinal Movements

After cycling we also want to gently stretch the front body. We can do this with some gentle back bends or chest openers. We don’t want to take anything too extreme after being in a flexed position for a long period of time. Just some gentle chest opening movements are great. Here is 10 minute chest opening sequence to give you an idea of some stretches you could take.

Moving the spine through the 6 degrees of movement (or in this case as we’ve been flexed for so long, it would the 5 degrees of movement) is also a great way to get any kinks out of the spine and rehydrate the discs in the spine. You can do this by taking some gentle twists and side bends. This is in addition to the gentle back bends (or chest openers).

The Core

Along with the muscles in the spine (the multifidi and the erectors) the core plays an important part in spinal and back support. The core is made up of different groups of muscles. On Monday 20th July 2020 I’m running a free 7 day core challenge where each day we will look at a different muscle that makes up the core and how we can strengthen it. You’ll then be given a couple of exercises that focuses on that specific core muscle. Strengthening the core is another great way to train for your long distance cycle trip.

The challenge will take 5-10 minutes a day for 7 days, so you’ll easily be able to fit it into your day. You can either sign up to the challenge here and you’ll receive a daily email each morning for 7 days. Or you can subscribe to my YouTube to receive the notifications.

I’ve also created a short Yoga for Lower Back Pain course. This gives you bonus free access to the 7 day core challenge now.

I only launched this course today and if you sign up before 12th August with the code LOVEYOURBACK you’ll get 50% off the course price.

Choosing Travel Insurance for Cycle Touring

travel-insurance-cycle-touring

Article updated: 29th June 2020

Having the appropriate travel insurance for cycle touring is essential! It gives you peace of mind in case something happens, and ensures you won’t end up forking out unnecessary money.

I know a lot of people take the risk and don’t buy travel insurance. Personally, I think that’s insane! I used to work as a travel consultant and I’ve heard MANY horror stories related to not being covered.

The horror stories were from people that were on holiday or travelling, when something bad happened, and they either weren’t covered or weren’t covered for the activities they were doing. It always ended up costing them. So it’s important to not only have travel insurance, but to make sure you are sufficiently covered for the activities you plan on doing.

A few things to consider when choosing Travel Insurance for Cycle Touring:

Does the policy cover your bicycle?

I’ve discovered that most travel insurance policies won’t cover bicycle thief! Actually, I have not found one policy (for Australians) that does. Most policies also won’t cover damages to your bike. Most will however cover damages or thief to bicycle accessories (panniers, phone mounts etc.). It’s important to check and be aware of this. It’s better to know up front than think you’re covered just to find out later you’re not.

brodie green bicycle circuit
The green beast that got me across Canada!

Does the insurance company cover long-term cycle touring?

This is something I always confirm directly with the insurance company, as it’s not always listed on the ‘included activities’ section of the policy. Some insurance policies may only cover cycle touring on roads or paths (ie. not mountain bike trails/ bikepacking). Or only cover cycle touring if it’s not the main activity taking place (ie. it’s not more than X% of the trip).

Other insurance companies may not cover cycle touring at all or it might be considered to be an additional extra or ‘extreme activity’. Make sure you get confirmation directly from the provider before purchasing your travel insurance for cycle touring.

leaving vancouver
Cycle touring in Canada

And, what are the conditions?

You will usually find that the insurance provider will only cover you for cycle touring if you are following the country’s rules and regulations. For example, if it’s law to wear a helmet, then you must be wearing a helmet to be covered. Or, if you legally can’t cycle on a specific road, then you won’t be covered if you cycle on that road.

It’s important to familiarise yourself with the country’s cycling rules. And if you do break some laws (face it, we all do at some point), then be mindful that you might not be covered if something was to happen.

How long do you plan to be cycling for? Will the policy cover you for the entire duration? Or will you need to renew you policy each year?

Most insurance companies only provide insurance policies for a maximum of one year. If you plan on cycling for longer than that, then it’s important to check:

1) Whether the policy can be extend.

2) Whether you can purchase or extend a new policy while travelling.

A lot of policies cannot be extended, which means purchasing a new policy. However, some policies have to be purchased while you are in your home country, before the start of your trip.

It’s also worth checking whether your travel insurance policy will become void if you decide to visit home during your trip.

Also, make sure the policy isn’t a multi-trip policy, as these policies are annual policies that only cover you for travel that is up to specific time period (ie. 60 or 90 days) at a time. After that you have to return home for the policy to still be valid. That said, if you plan to take a few shorter cycle tours throughout the year, where you return home in between trips, then a multi-trip policy might actually work best for you.

I can almost hear some of you ask, “How will the insurance company find out if I wasn’t wearing my helmet, or that I went home for a couple of weeks?” The truth is, they might not find out unless they request specific documents that contradicts your story or if something happens to you while you are breaking one of the policy conditions. It’s whether you want to take that risk or not. If you are forking out all that money for travel insurance, then you probably want to be covered.

Will my insurance cover COVID-19?

Unless you purchased your travel insurance prior to mid-March, then it’s highly unlikely. I’ve not come across a policy that will provide you with cover for any loss or event related to the coronavirus (COVID-19) – this includes cancellations, disruptions and restrictions resulting from COVID-19. That said, don’t let that prevent you from purchasing travel insurance, as there are plenty of other things that will be covered.

This is one reason why it’s so important to purchase travel insurance as soon as you start booking anything for your trip. Travel insurance doesn’t just cover you for your trip, it covers you leading up to your trip as well. If you purchased your travel insurance prior to mid-March then you may have been covered for any cancellations to your flights in say, April.

A few other things to consider:

Are you travelling solo, or as a group, a family or a couple? Sometimes it’s cheaper to buy a policy that covers you as a group, couple of family, instead of individually.

What countries are you visiting? Different countries usually cost different amounts to cover. Make sure you’re covered for all the countries you plan on visiting.

What’s your nationality? You nationality will affect the policy, even if it’s the same insurance provider. For example, World Nomad’s policy for British nationals covers completely different activities than World Nomad’s policy for Australians.

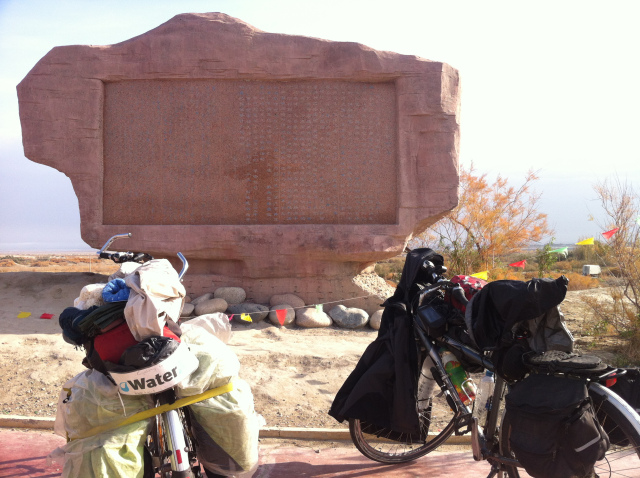
Arriving in China with the bikes

If you are unsure about anything, confirm in writing with the insurance provider.

When choosing my insurance provider and policy, I always email the insurance company to confirm my inclusions and anything I’m unsure about. I actually did this once, and was told I was covered for something. It turned out I wasn’t, however because I wrote the to insurance company and had in writing that I was covered. They honoured the claim and paid me out. This experience was with World Nomads Insurance Company.

However, boring it is, I also recommend reading through the policy and comparing a few different policy options before choosing your travel insurance for cycle touring. Just like choosing your touring bike – picking an insurance policy is an investment, and it does take some time and research to get it right.

Our Experience with Travel Insurance for Cycle Touring

We used World Nomads Travel Insurance for our France to China trip, and DUInsure (which is actually part of the Alliance group) for our cycle trip across Canada. I’ve made claims under both policies and overall had a good experience with both insurance companies. However, I did find World Nomad’s system much more user friendly and less complicated for submitting claims online.

The overall process with World Nomad’s was also a lot quicker, and I got paid out within days. Opposed to DUInsure where I had to wait weeks. I found DUInsure was slightly cheaper for travel in Canada and the USA, which is why I changed insurance companies for the Canada trip. However I think I will be changing back to World Nomads if we were to do long term trip again in future.

Feel free to get in touch if you have any questions about my experience with either of these insurance companies or anything else insurance related.

We would also love to hear from you if you’ve used either of these insurance companies and want to share your experience. Likewise, if you have any other tips for picking travel insurance for cycle touring.

If you enjoyed this article on choosing travel insurance for cycle touring, then you might also enjoy our article on Accommodation Options for Cycle Tourists.

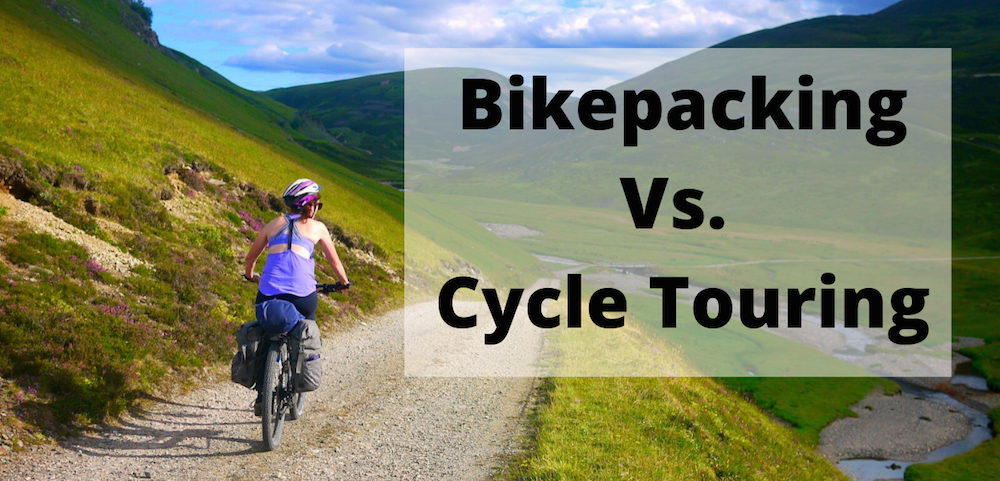
Cycle Touring Vs. Bikepacking

bikepacking-vs-cycletouring

Since moving to Bristol, Michael and I have started to break into the bikepacking world, completing a few bikepacking trips in Scotland, Wales and England. We definitely hope to do a few more in future – though COVID has put a little delay on this for now.

Personally, I love cycle touring and I love bikepacking – both for different reasons! And though at first you might assume these are very similar ways of travelling, they actually are quite different in many ways. So I thought I would share some of the difference today.

Before we start:

  • If you are weighing up between a bikepacking or cycle touring trip, then this might help you.
  • If you’re set on cycle touring, but have never heard of bikepacking, then I apologise, as this might chuck a spanner in your spokes – as after reading this you may decide to change your plans 😉

So first what is bikepacking?

Usually done on a mountain bike (or in Michael’s case a plus bike), involving minimalistic camping in the wild. Carrying your own (usually lightweight) gear. Riding on dirt tracks, gravel roads, the roads less travelled – in the wilderness!

Think of multi-day hiking, carrying all your camping gear, food and essentials – well bikepacking is this, only with a bike.

gower-bikepacking
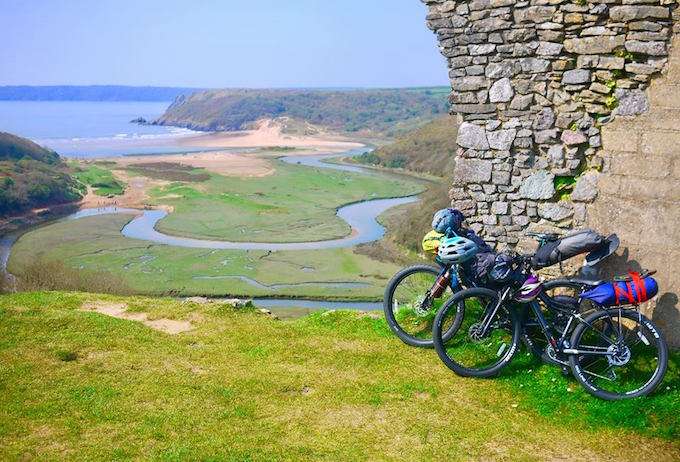
Our first bikepacking trip in Gower, Wales! This was just a weekend trip.

How is Cycle Touring similar to Bikepacking?

  • You travel by bicycle.
  • You carry your gear on the bike.
  • In some cases you may even travel on the same or similar terrain – depending on your route and bike (though you wouldn’t want to do huge distances like this).
  • You might carry some of the same gear (ie. lightweight tent).
  • You’ll likely be camping… at some point (though cycle touring does tend to have more accommodation options).

How Bikepacking differs to Cycle Touring?

  • Probably the more obvious – you usually use a different bike to cycle tour compared to bikepacking. You could try a mountain bike to cycle tour – however you’ll probably go pretty slow and I can imagine it would get old quite quickly.
  • While cycle touring you tend to spend a lot of time on roads, visiting cities, towns, gas stations, shops. Bikepacking you tend to spend most of your time out in the wilderness, travelling on dirt roads and tracks. You’re less likely to see as many cars, or even as many people. There are pluses to both of these – but it’s important to consider what additional items or considerations you might need to take if travelling more remotely.
  • Linked to the previous point – you are generally more remote while bikepacking. When we were in Scotland we did a week around the Cairngorms National Park and we didn’t see anyone for 3 days.
  • A difference I didn’t consider when first bikepacking – I was using my entire body! Bikepacking is seriously a full body workout! Why is this? While bikepacking you tend to be on dirt roads, and you need to use your upper body strengthen a bit more to control the bike. This is especially true when riding downhill. My first bikepacking trip – wow, I was wiped out! My whole body could feel the ride. Now obviously if you regularly ride on mountain bikes trails, then maybe you won’t notice this as much, but as a novice, I can vouch, you will work muscles you didn’t know you had.
bikepacking-scotland
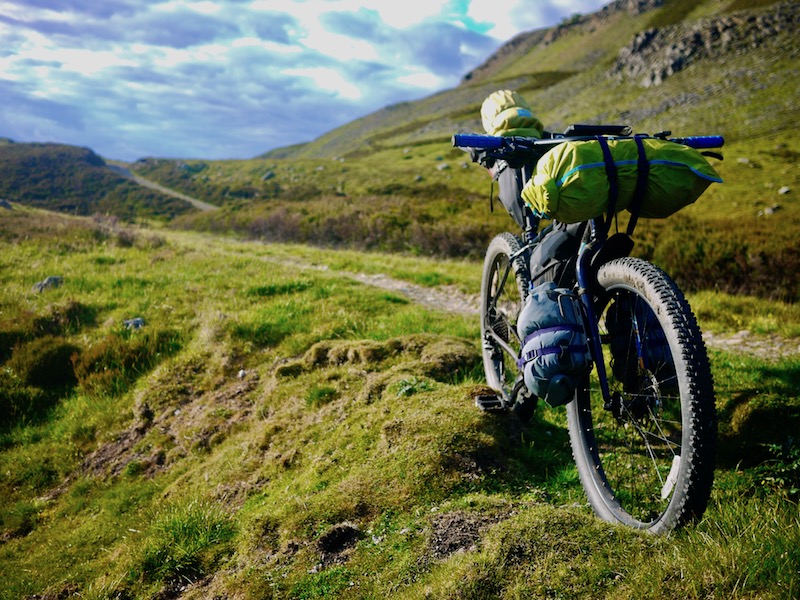
Michael’s plus bike during our bikepacking trip in the Cairngorms, Scotland.

Which is better?

So how does cycle touring vs bikepacking? This really depend on what you enjoy, what you want to experience and the route you want to take!

I love both!

I love being in nature, away from busy roads, with the challenges of riding on dirt tracks. And camping in some of the most beautiful spots you can imagine.

However, I love meeting local people in small towns or villages, and cycle touring does make that very easy to do. It’s also a bit more convenient not having to rely on camping, but also hotels, airbnbs and other options (a particularly nice option during a storm) and having easier access to bike stores and shops definitely comes in handy. Cycle touring also provides a few more route options, as you’re not as restricted to dirt roads (though you can technically ride a mountain bike on the road – I just can’t imagine it will be too fun for too long).

For this reason, personally I’d probably prefer cycle touring for my long distance, multi-month, cross country trips. And bikepacking for my weekend to several week trips. That said, one day we plan to bikepack the Himalayas for a few months – so I guess destination is also something to factor in.

Cycling-New-England
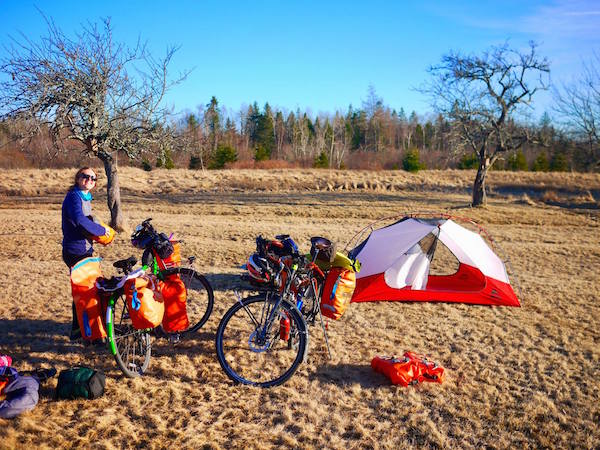
Pitching our tent in someone’s yard after they gave us a dozen eggs as a gift! Got to love cycling in New England, US!

Finally, there are no rules to any of the above – your bikepacking could look completely different to the next person. However if you are on a mountain bike, carrying gear to camp and traveling through the great outdoors – you can probably assume it’s bikepacking!

What do you think? Do you agree with my comments? And do you have a favourite? Would love to hear your thoughts!

How Cycle Touring Can Change Your Body

how-cycle-touring-can-change-your-body

Obviously everyone is different, so how cycle touring can change your body will vary from person to person. Last week I wrote about the experience Michael and I had with our bodies while cycle touring. This week I thought I’d write a little more about some of the changes you may experience, and a few ways you can prevent or manage them.

I appreciate this is quite text heavy – there is quite a lot of info there and I hope to eventually put together a suggested training plan that will help address these points a bit more. Sign up to the email list if you want to be updated when this is available (no set date yet).

Rounding of the Upper Back/ Shoulders

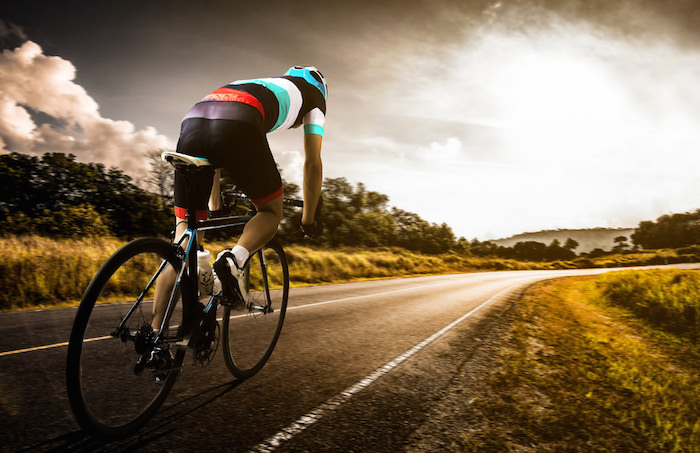
The typical cyclist position where we lean forward towards the handle bars creates a rounding in the spine and often means our shoulders hunch forward or up (or both). This stretches (lengthens) the muscles between the shoulder blades and shortens the muscles in the pecs. If we don’t do anything to counteract this movement, then the muscles in these areas don’t get the opportunity to readjust or (let’s call it) neutralise.

This can lead to weak muscles in between the shoulder blades and tight chest muscles – meaning we start to develop a gradual rounding or hunching of the upper back. This can then lead to lots of other issues, such as neck and shoulder pain, bad posture and lower back pain.

When next riding, notice whether you tend to draw your shoulders up towards your ears when you ride – this can result from weak rhomboids (as well as other muscles that are in between the shoulder blades). Drawing your shoulders towards your ears for a prolonged time can also create neck and shoulder pain and add to the rounding or hunching forward. You can try and manage this by strengthening the upper back, and actively drawing the shoulder blades down the back.

What can you do to prevent this rounding/ hunching?

1. Make sure you stretch with counterposes after your ride.

This means doing stretches that open across the chest and pulls the shoulder blades together. Gentle backbends can also help, however be careful not to take anything too extreme straight after cycling (such as a yoga pose known as wheel), as spending a long time rounding forward, to suddenly bend in the opposite direction can upset the spine.

When stretching the chest muscles, try and contracting the muscles between the shoulder blades. By doing this you’ll also benefit from a concept known as, reciprocal inhibition. This is where engaging the opposite muscles to those you want to stretch, will help you deepen into the stretch of the target muscles. This means you will engage and strengthen the back muscles, as well as getting a good stretch in the the pecs and front body.

I’ve created a short chest opening sequence here. This wasn’t created specifically for cyclists and I don’t cover much on reciprocal inhibition (though I do plan to create one in future), however it will give you an idea of the kinds of exercises that stretches across the chest. If you are experiencing a lot of neck pain, you may also like this short sequence.

2. Exercises to strengthen the upper back are also great.

These can be done at any point, but are particularly great to incorporate into your pre-cycle tour training plan. The stronger the back muscles are when you start your tour, the less likely you’ll experience the rounding, as well as neck and shoulder pain. When doing these exercises make sure you draw the shoulder blades down the back. I’ve written a new article, which includes a sequence to help you strengthen your back and prepare you for your next/ first cycle tour.

3. You can also try engaging the upper back muscles while cycling.

You don’t have to do this constantly, but just enough that you’re engaging these muscles. This just helps to keep the muscles active.

make money while cycle touring, cycling to the Canadian Rockies
Cycling in Canada – though I tend to be quite upright in this photo, I’m still leaning my upper body forward. My shoulders are also slightly coming up towards my ears here (not sure you can tell), but this will create more tension in the neck.

Inactive Glutes

I wrote a little about my experience with this last week. In brief, your leg muscles can become so strong from overuse that it can lead to your glute muscles becoming a bit less active. This leads to weak glute muscles as well as a bit of a disconnect with the sensory and motor neurons that connect your brain with the glute muscles. This means when you start to try and activate them, it can take a while before you can actively engage them (ie. your brain can’t easily tense the muscles in your bum, when you try to tense them). This actually happened to me, so I can vouch for the science behind this.

Overactive leg muscles can have lots of knock on effects – for me I had less support when running downhill, which meant instead of the impact being absorbed by my glutes, my knees were taking the impact. Obviously, my knees weren’t too happy about this.

Overactive or tight leg muscles (ie. when the muscles shorten) can also create lower back pain and pelvis tilts. This occurs as the shortened muscles pull down on the muscles in the lower back and pelvis, bring them out of alignment.

What can you do to prevent inactive glutes?

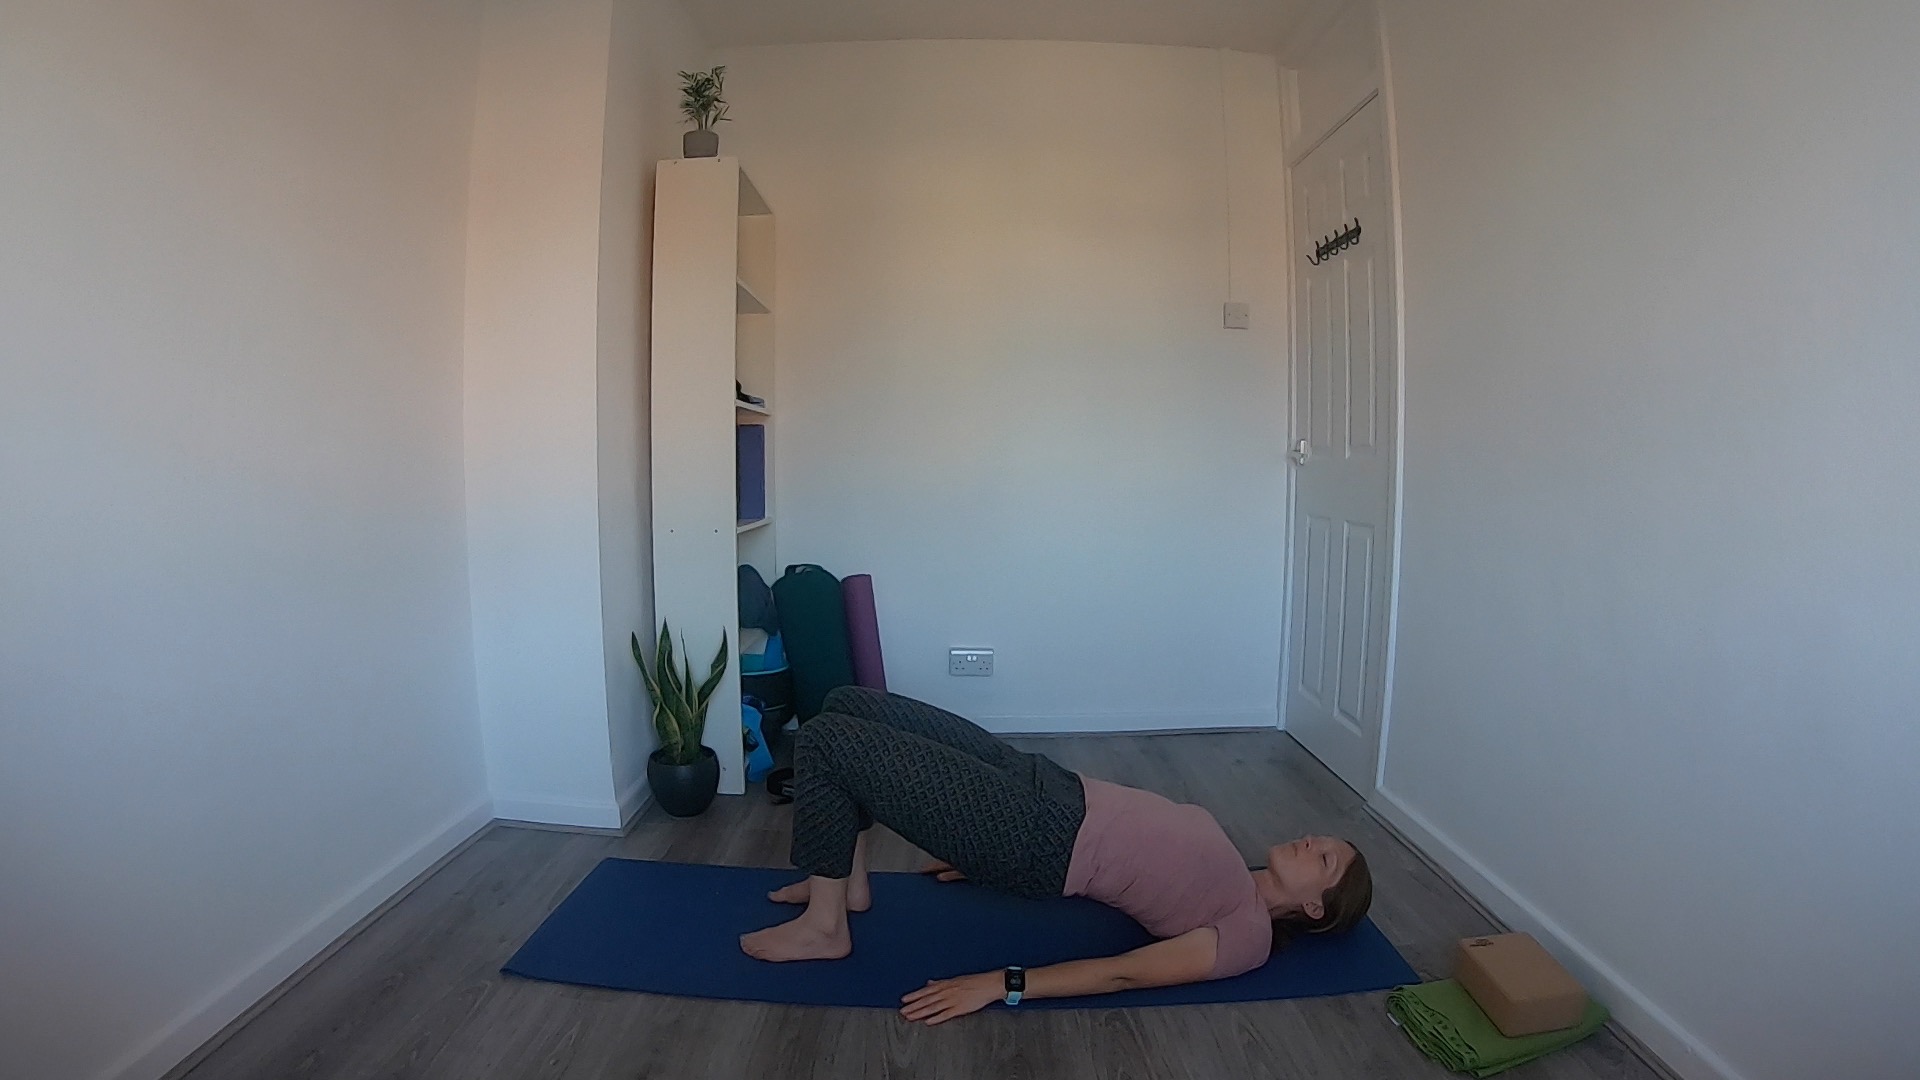
1. Exercises to strengthen the glutes – bridge dips and squats are great.

Different Bridge exercises was actually what my physio prescribed to me to help me restrengthen my glutes.

2. Also try actively engaging the glutes

Yes, I mean squeeze your butt once in a while – this helps to keep the neuron pathways active.

3. Try a body scans

If you’re into meditations or fancied giving them ago – body scans are also great for keeping the neuron pathways in the body active, as they bring awareness to the different body parts. I recently completed a meditation course and recorded a couple of guided meditations that include body scans – you can sign up to receive them for free, here.

Bridge pose – a great way to strengthen the glute muscles.

Lower Back Pain

Linked to the above issue and briefly touched on – tight (short) leg muscles can pull on the lower back and pelvis, causing lower back pain and influence the position of the pelvis, bringing it out of alignment.

As well as causing lots of discomfort, these tight muscles can influence the way you walk and the amount of impact or force placed on the different body parts and joints.

What can you do to prevent this from occurring?

1. Gentle twists and side bend stretches can help relieve lower back pain in the short term.

When twisting, make sure you’re twisting from the belly and not the shoulders – it’s just a bit kinder on the spine.

2. For more long term solutions, make sure you stretch your legs after a cycle.

I do cover this a little bit in the Yoga for Cyclists course.

I’ve also created a new short Yoga for Lower Back Pain course, which covers the common causes of lower back pain and will equip you with some exercises you can incorporate into your training plan or to use while on tour. It also includes a bonus 7 day core challenge (because the back is part of the core – and hey, why not challenge yourself?).

This course is designed to give you some exercises to help prevent lower back pain in the long term. It doesn’t however replace medical guidance.

Weakened Spine

Rounding forward can weaken the muscles that support the spine. This works in the exact same way as how the upper back muscles weaken – the constant rounding forward is a constant stretch on the back of spine. This can lengthen the ligaments, connective tissue and muscles that support the spine (muscles such erector spinae). Over a prolonged period of time this can weaken the muscles, as we’re not regularly contracting these muscles (or counteracting this stretching action), which helps to strengthen these muscles.

What can you do to prevent this?

1. Strengthen the core can really help protect the spine and strengthen the muscles that support the spine.

This is something that I definitely suggest incorporating into any pre-cycle tour training plan. To get you started you can sign up to the 7 day core challenge!

2. Twists, side bends and gentle back bends can counteract the bending forward motion.

Side bends and gentle twists are great for getting any kinks out of the spine. After a ride it’s a good idea to incorporate a few of these stretches into your post ride cool down. By stretching in the opposite direction to when we ride, we bring the previously stretched muscles (in this case the back muscles) into contraction – which strengthens them.

cycling-how-cycling-impacts-your body
Not a cycle tourist, but I wanted to give you another visual of the back position when cycling with drops and I couldn’t find a photo of Michael riding with his drops – so this will have to do. So in this photo though the upper back is quite straight, you can see there is still some rounding particularly in the lower to mid-back. You can also see the chest is quite closed in by the arms, so stretching through the upper back. I’m definitely not saying this is a bad position, not at all – but, just wanted to give you an idea of the position we sit in for a long time.

Numbness in the hands/ wrists

A friend I met while cycle touring in Canada got numbness in the hands really bad – to the point she couldn’t move or feel or pinky fingers. Though I’ve never experienced anything quite that bad, I have experienced hand and wrist aches and pains.

Carpel Tunnel Syndrome is also something that can develop from constant and too much pressure on the heel of the wrists.

What can you do to prevent this?

1. This is one that might be better managed by changing handle bar grips and gloves.

I also found it helped to not do up my cycle gloves – I guess this helped with circulation and mobility of the wrists.

2. You could also look at your posture on the bike.

Notice whether you are dumping too much weight into the heel of the hands – maybe play around with the height of the handle bars, grips and seat.

3. To relieve wrist and hand pain there are some exercises you could do.

I created a short video on hand and feet stretches, as part of a 30 day yoga challenge – feel free to check it out if you are experiencing any discomfort or tightness in the hands.

I’ve also created a short sequence to increase fluid to the wrists which can help with mobility and reduce tension in the wrists.

Loose the wrists with this short sequence

4. Massaging the hands is also a great way to increase blood flow to the area and relieve any pain.

This article covered a lot of the common changes you might experience – however if there was anything else that you’ve experienced I would love to hear about it.

Also in this article about how cycle touring can change your body, I’ve highlighted a lot of the issues you may develop when cycle touring – however it’s important to recognise it’s not all bad. There are also loads of benefits of cycling too. We just don’t usually have to manage these benefits as much, so I’ve not covered them here 🙂

How Cycling Changes Your Body: Our Experience

how-cycling-can-change-your-body

When we headed off on our first cycle tour, we didn’t give much thought to how cycling changes your body. Actually, I’m not sure we gave it any thought at all. Which in hindsight was a bit of a mistake, and perhaps if we had considered these possible changes before we set off, we could have prevented a few injuries and quite a few scary discoveries.

Obviously, how cycling changes your body, will depend on a number of factors and will vary from person to person. Just the differences Michael and I experienced proves how these differences can vary so much.

There’s quite a lot to cover, so I thought I’d first share with you, what changes Michael and I experienced during our cycle tours. Then next week, I’ll share with you some of the common changes you may experience and provide some resources to help you manage these changes and prevent injuries, pain and soreness.

How Cycling Changed Our Bodies

Michael: Weight Loss

When we left the ski resort in Sty Foy and started our first cycle trip, Michael weighed around 83kg. Just 6 weeks into the trip he weighed only 66kg.

Michael had started to burn muscle and couldn’t seem to consume enough calories to keep the weight on. He managed to gain a bit more weight once we discovered how much he had lost, but during this trip his weight loss was a constant issue and worry. At one point in Michael’s life he weighed over a 100kg, so extreme weight loss was not an issue he previously had.

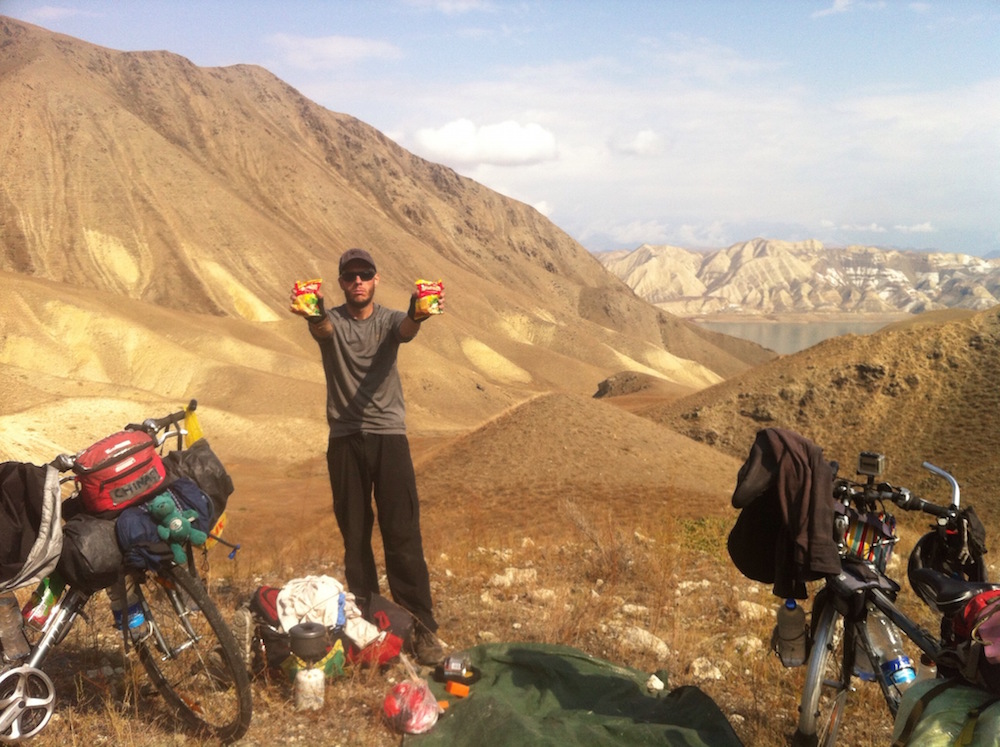
Michael in the Stans – this was after he managed to put a bit of weight back on. As you can see, our diet consisted of a lot of instant noodles.

Kelly: Pains… Lots of them.

Weight

Completely the opposite to Michael, I actually gained weight. I started the trip around 50kg and by the end of the trip was closer to 60kg. Why? I suspect from muscle growth. Unlike Michael I wasn’t burning muscle, I was growing muscle. Mostly in my legs. Strange considering we rode the same distance and ate a very similar diet. The only real difference was that Michael had a bit more weight on the bike than I did and I’m about a foot shorter than Michael. And obviously, I’m a female.

Before the cycle trip I was in a ski accident, so I had spent the previous few months not doing a whole lot of exercise. I went from next to no exercise to cycling up hills with weight on the bike. I likely started the trip with a lot less muscle than Michael. There are a number of other possible reasons why we had completely different experiences with our body weight – metabolism, muscle size, limb size, pannier weight. I guess we can never be 100% sure, but it is something we learnt for future planning, and during our cross Canada trip, we both managed to maintain our weight in a healthy range.

Saddle Sore

Weight gain and muscle growth wasn’t the only thing I experienced in that first trip.

A couple of days into our France to China trip I started to experience extremely bad saddle sore. Specifically my tail bone. I couldn’t sit down for 6 weeks. Padded shorts didn’t help and eventually the pain did go away. I never really worked out why I experienced so much pain and I’ve never experienced it since. Maybe it was literally my body adjusting to so much time spent in the saddle.

Sore Wrists (and lots of blisters on the hands)

My wrists also we’re extremely painful, and throughout the entire 8 month period I was constantly adjusting the handle bar, changing gloves, and trying different grips.

It was also something I experienced at the start of the cross Canada trip, however a couple of weeks into this trip, the pain went away this time and I suspect that was due to a combination of wrist stretches and new fancy handlebar grips.

You’ll also notice (whether you wear gloves or not) your hands will develop a lot of hard skin. This didn’t really bother me or Michael, however it’s definitely a change that we both noticed.

If you do experience any wrist pain, you might like to try this short sequence to loosen the wrists.

Upper Back, Shoulder & Neck Pain

At the time I couldn’t figure out why I was experiencing so much pain in my upper back, shoulders and neck. I tried different grips, different handle bars, different saddle positions. I also tried a mix of stretches, which to some extent did relief some of the pain temporarily. However, whatever I did the pain seemed to return. I struggled with this for a long time before I discovered the cause.

I’ve now learnt that all this pain and discomfort was to do with my posture on the bike. I carry a lot of tension in my shoulders, and while on the bike had a tendency to pull my shoulders towards my ears. Instead I should have been engaging the muscles in between the shoulder blades (the rhomboids) to help pull my shoulders down the back. Creating space between the shoulders and the ears.

These upper back muscles tend to get quite weak during cycling. Actually, the whole back body can become quite weak due to the constant rounding/ leaning forward position. If I considered this at the time, I should really have been starting my day with a few exercises to help engage the upper back muscles, and bring some awareness to drawing the shoulder blades down the back. This would also help prevent any rounding of the shoulders (not something we personalised experienced or had issues with, but I’ll cover this a bit more in next week’s article).

I’ve also covered back strengthening a bit more in a completely separate article – this article also include a back strengthening yoga class.

I wish I knew about the upper back muscles years ago – it would have saved me from a lot of discomfort and headaches.

Overactive Quads & Inactive Glutes

Something I didn’t discover until many months after the cross Canada cycle trip, when I took up running again. My quad muscles had started to overcompensate for my glutes. I had gotten so used to using my quads, and didn’t do any exercises to maintain my glute muscles, that those muscles literally stopped working. I only discovered this when running down hill and experiencing knee pain. My physio put it down to all the cycling. Though I love cycling, this really woke me up to the need of cross training, stretching and working muscles that are inactive for prolonged periods of time.

Ottawa
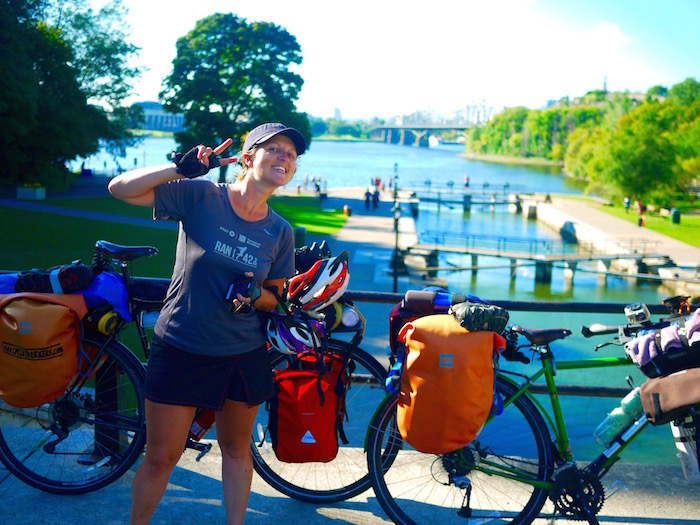
Cycling in Canada – where we managed to mostly learn from our previous mistakes and look after ourselves a little better.

What we both experienced

Exhaustion! I don’t think I’ve ever napped so much in my life. I’m not sure this every really changed, no matter the time we spent on the road. I’m sure it was a mixture of physically being tired and just enjoying a good nap on a sunny day, in the shade of a tree.

We were both also in a constant state of hunger. Our stomachs were literally bottomless pits. During the cross Canada trip we did a much better job of eating the right foods, which sustained us a lot longer. That said, we could still eat a lot. I plan to write a whole separate article about diet – particularly for vegetarians – as both Michael and I are vegetarian cyclists. So keep an eye out for this.

Something else to also keep in mind is when you finish the trip – it takes a bit of time to readjust to a more sensible amount of food. So you may experience a sudden weight gain.

yoga-for-cyclists-free-course

To help prevent common aches and pains on tour, I’ve created a specific Yoga for Cycle Tourist class. This class is based on a few of the common issues I experienced, and a few stretches you can do to help ease them. I’ve also created a FREE Yoga for Cyclist course, which explains a bit more about the benefits of yoga for cyclists and includes a few free yoga classes/ sequences/ stretches you can incorporate into your training plan.

Cycle Touring Tip #1: Don’t Listen to Other’s Negativity

monthly-cycle-touring-tip-1

Monthly Cycle Touring Tip

We’ve received a lot of emails and messages over the past couple of years from people wanting to embark on their first cycle tour, but not really sure where to start or what to consider. To help you out, we’ve decided that each month we’ll post a cycle touring tip to help you prepare for your cycle tour.

These tips will be a collection of things we wish we knew before we started, or have just found really useful. They will all be completely from our experience while on the road. However, remember there is no wrong or right way to cycle tour – so if these tips don’t work for you, no worries!

cycle-touring-tip

Tip #1: Don’t Listen to the Negativity of Others

If Michael & I listened to all the people that told us we couldn’t cycle from France to China, we never would have left France. Sure the odds may have been against us – we both weren’t cyclists and we both had never done anything like this before. However, we didn’t let this stop us.

It’s easy to start doubting yourself and your ability when others start telling you you’re crazy or you can’t do something.

You could always respond with, “Maybe you’re right, I won’t be able to do it, however I’ll never know if I don’t try.” Which is 100% true. Your trip likely won’t pan out the exact way you had planned. But, that’s ok. Plans can change. This shouldn’t prevent you from going. And if it doesn’t work out – at least you tried. There is no shame in that.

Negativities during our France to China Trip

I certainly started to doubt myself before and during our France to China trip – and maybe it was just me being stubborn that lead to us continuing with the trip. Loads of people told us we couldn’t do it. Actually, I’m not sure anyone told us we could do it. And when we started the trip, more than once, I stopped on the side of the road and asked, “What am I doing? I’m not really a cyclist – I can’t do this.

Just try and remind yourself that you’ve got nothing to lose. This is something you wanted to do. And if it doesn’t work out – it’s fine. You can only do your best. And, if it does work out – you’ve ticked something off the bucket list. Win, win.

Other negativities I came across before or during the trip – you can’t cycle through Iran as a woman. You can’t cycle tour as a woman. You can’t wild camp. Aren’t you afraid you’ll get attacked/ mugged/ killed?

There will always be an element of risk – but there is with most things in life. As long as you use some common sense and take the right precautions you’ll likely be fine. As I tell most people – I’ve had more bad things happen to me in my home town than anywhere else in the world (and I’ve not spent much of my life in my hometown).

You can listen to and consider what people are saying – however don’t let those comments put you off. You’ve done the preparation. You’ve done the research. You likely know more about your trip than an outsider that has just found out about it. Obviously, if your research suggests that person might be right, then maybe take it into consideration. However in most cases, this won’t be the case and if i is, then there are likely other options. Maybe taking a slightly different route for example.

This is the first of our monthly cycle touring tips – check back next month for our next time.

In the meantime, if you’re after more we’ve previous posted about picking travel insurance and sleeping options for cycle tourists.